DIY Seed Starting Mix Recipe for Thriving Seedlings : Gardening is a rewarding and therapeutic hobby, and one of the most critical stages in a plant’s journey is its early days as a seedling. To ensure that your seeds sprout into healthy, vibrant plants, you need a proper foundation—and that starts with a good seed starting mix. Whether you’re a seasoned gardener or a beginner, making your own DIY seed starting mix is easier than you think. This guide will teach you how to craft the perfect mix to give your seedlings the best possible start, using readily available and affordable ingredients.
Why Make Your Own DIY Seed Starting Mix?
Store-bought seed starting mixes are convenient, but they can be expensive and might contain unnecessary additives. By creating your own mix, you have complete control over what goes into it. You can tailor it to suit your plants’ needs, avoid harmful chemicals, and save money in the process.
Additionally, homemade seed starting mixes are often fresher than store-bought options, leading to healthier seedlings. The process is also eco-friendly, as you can source ingredients locally and reuse materials from your own garden.
What Makes a Good DIY Seed Starting Mix?
A perfect seed starting mix should meet the following criteria:
- Well-Draining: Excessive water can cause seeds to rot or lead to fungal issues. The mix should allow water to pass through without becoming waterlogged.
- Light and Airy: Seeds need oxygen to sprout, and compacted soil can hinder their growth. A light texture promotes better aeration.
- Nutrient-Free (Initially): Seeds contain all the nutrients they need to germinate. A nutrient-rich starting mix can burn delicate roots, so it’s best to add nutrients later.
- Retains Moisture: While the mix should drain well, it should also hold enough moisture so seeds don’t dry out between waterings.
Ingredients for Your DIY Seed Starting Mix Recipe
To make your own seed starting mix, you’ll need the following ingredients:
- Peat Moss or Coconut Coir: Both materials help retain moisture without becoming overly soggy. While peat moss is a traditional choice, coconut coir is a more sustainable, eco-friendly alternative.
- Perlite or Vermiculite: These materials improve drainage and aeration in the mix. Perlite is lighter and provides excellent airflow, while vermiculite retains more water, making it a better choice for drier environments.
- Compost or Worm Castings: While seeds don’t initially require nutrients, adding a small amount of mature compost or worm castings ensures they have access to gentle nutrition once they grow their first leaves.
Optional Additions
Here are some optional ingredients you might consider:
- Sand: For additional drainage, especially if you’re planting seeds that prefer drier conditions like succulents.
- Fertilizer: If you anticipate continuing growth in the same mix, a mild organic fertilizer can be beneficial.
Step-by-Step DIY Seed Starting Mix Recipe

Now that you know the ingredients, let’s dive into how to put everything together:
Step 1: Gather Your Supplies
Before you begin, collect all the tools and ingredients you’ll need. This includes a mixing container, measuring tools, and your chosen ingredients like peat moss, perlite, and compost.
Step 2: Ensure Dry Ingredients are Fluffy
If using peat moss, fluff it by hand or sift it to break down any clumps. Similarly, check the perlite or vermiculite for clumps. This step ensures your mix is light and well-aerated.
Step 3: Mix the Ingredients
For a basic DIY seed starting mix, combine:
- 2 parts peat moss or coconut coir
- 1 part perlite or vermiculite
- 1 part compost or worm castings
Use a large container to mix everything thoroughly. A garden trowel or your hands work well for combining the ingredients. Pro tip: Wear gloves if you’re handling perlite, as it can be dusty.
Step 4: Adjust Moisture
Add water gradually, mixing after each addition until the mixture is moist but not soggy. A good rule of thumb is to squeeze a handful—if it forms a clump that crumbles apart easily, you’re at the right consistency.
How to Store Your DIY Seed Starting Mix
Store any leftover mix in an airtight container or a clean, dry bucket. Keep it in a cool, dark location to maintain freshness. Properly stored, your homemade mix can last for several weeks, if not months.
Pro Tips for Thriving Seedlings
Now that you’ve got your DIY seed starting mix ready, here are some additional tips to ensure seedling success:
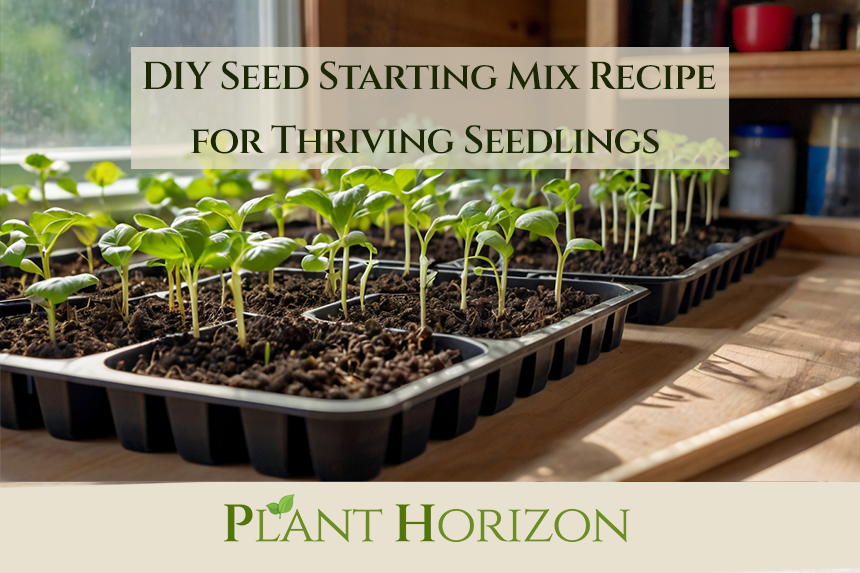
- Use Clean Trays or Pots: Sterilize containers to prevent the spread of pathogens.
- Label Your Seeds: Always label your trays to keep track of what you’ve planted.
- Provide Adequate Lighting: Seedlings require bright, consistent light, preferably from a grow light or a sunny window.
- Water Gently: Use a spray bottle or watering can with a fine spout to avoid displacing seeds.
FAQs About DIY Seed Starting Mix
Can I use garden soil for starting seeds?
Garden soil is not ideal for starting seeds because it is too heavy and may contain weed seeds, pests, or diseases. Instead, stick to a specially crafted seed starting mix for best results.
How do I sterilize my homemade seed starting mix?
To sterilize your seed starting mix, spread it in a thin layer on a baking sheet and bake it at 180°F (82°C) for 30 minutes. Alternatively, you can microwave small batches for 90 seconds. Remember to cool the mix completely before using it.
Can I customize the mix for specific plants?
Absolutely! For example, succulents and cacti prefer a sandier mix for better drainage, while moisture-loving plants may benefit from extra vermiculite.
Conclusion: Nurture Your Seeds for Thriving Plants
Creating your own DIY seed starting mix is a simple, rewarding process that ensures your seedlings get the care they deserve. By making your mix at home, you can save money, reduce waste, and enjoy healthier, faster-growing plants. With the right balance of aeration, moisture retention, and drainage, your homemade mix will be the perfect starting point for a lush and productive garden. So roll up your sleeves and start mixing—your future garden depends on it!