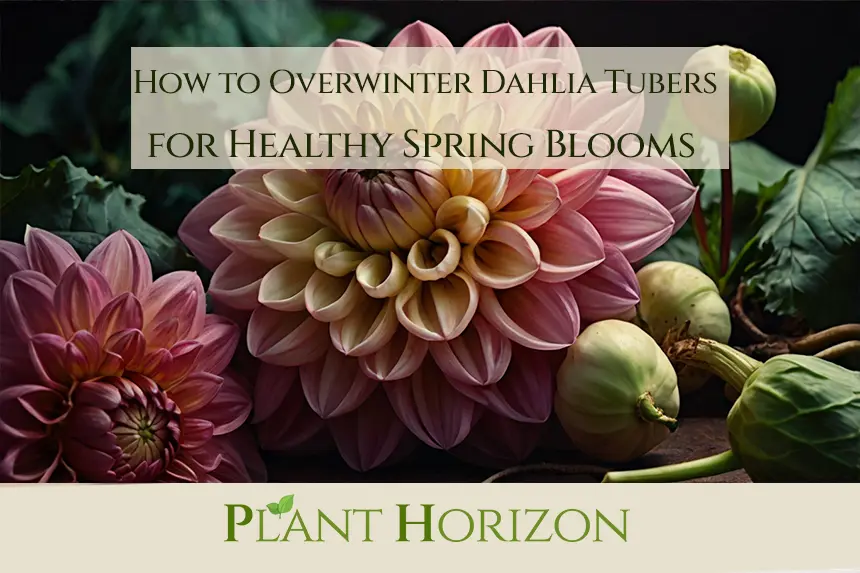
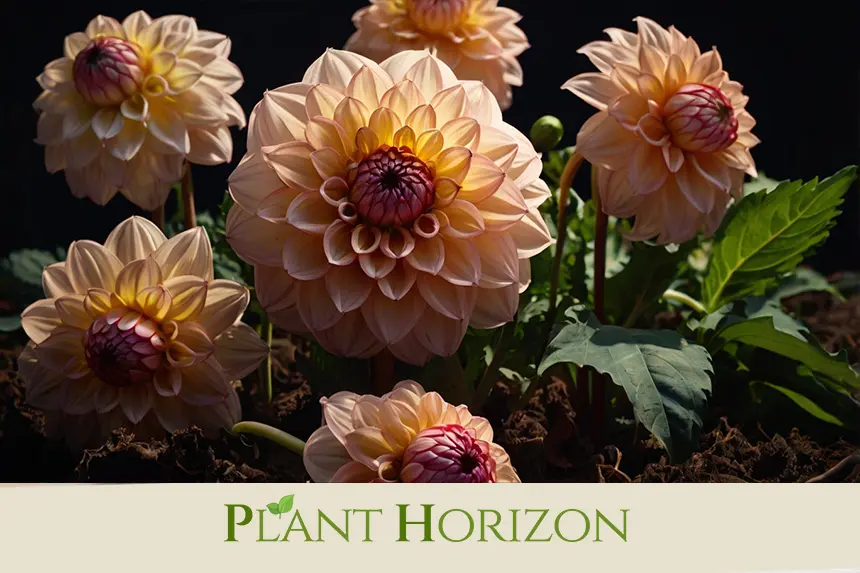
Dahlias are celebrated for their vibrant blooms that bring a riot of color to any garden. However, as the crispness of fall signals the coming winter, it’s essential for gardeners to know the right techniques to overwinter dahlia tubers. By overwintering them properly, you ensure they remain healthy for a stunning spring and summer display. In this guide, we’ll dive into the step-by-step process of storing your dahlia tubers so they stay viable and ready to thrive next growing season.
Why Should You Bother Overwintering Dahlia Tubers?
Dahlias are perennials in their native environments, but in many regions with harsh winters, their tubers can die from freezing temperatures. Overwintering your dahlia tubers protects them from frost damage and ensures you don’t have to buy new plants every year. With some care and attention, you’ll save time, money, and the pride of cultivating healthy plants year after year.
When to Dig Up Your Dahlia Tubers
The perfect time to dig up your tubers depends on the first frost date in your area. Keep an eye on your garden once the temperatures start to drop. After the first light frost, your dahlia plant’s foliage will darken and wilt, signaling it’s time to dig.
However, don’t rush. Keeping the tubers in the ground for a few more days after the first frost allows them to store extra energy from the foliage, which helps them survive the dormant months.
Tools You’ll Need for Digging Up and Storing Dahlia Tubers
Having the right tools on hand makes the process of overwintering your dahlias much easier. Here’s what we recommend:
- Garden fork or spade to lift the tubers from the soil
- Sharp pruning shears for trimming the foliage
- Soft brush or cloth to gently clean off soil
- Wooden crates, paper bags, or cardboard boxes for storage
- Dry packing medium such as peat moss, sawdust, vermiculite, or sand
- Garden labels or tags to help you keep track of specific varieties
Step-By-Step Guide to Overwinter Dahlia Tubers
Step 1: Dig Up the Tubers
Use a garden fork or spade to loosen the soil around the base of the plant. Be careful not to damage the tubers. Dig several inches away from the main stalk, lifting gently to expose the dahlia tubers. Carefully brush off excess soil.
Step 2: Trim and Clean
After digging, use clean pruning shears to cut the stalks down to about 2-4 inches above the tubers. Shake off loose soil and remove any damaged or rotting tubers. Avoid washing the tubers, as excess moisture might encourage rot during storage.
Step 3: Label the Tubers
If you’re growing multiple dahlia varieties, label each tuber clump with its name. Remember, it’s easy to forget which variety is which after months in storage, so this step ensures proper placement in your garden later.
Step 4: Cure the Tubers
Drying or curing the tubers is crucial. Lay them in a warm, dry area for 1-2 weeks. This allows their skins to harden, which prevents rot during the winter. Make sure the area is well-ventilated and away from direct sunlight.
Step 5: Store the Tubers
Once cured, pack the dahlia tubers in a container filled with a dry packing material like peat moss, sawdust, or vermiculite. This protects them from excessive moisture while preventing them from drying out entirely. Ensure the tubers are not touching each other, as this promotes airflow and reduces the chance of rot spreading.
Step 6: Choose the Perfect Storage Location
Store your packed tubers in a cool, dark location with consistent temperatures between 40-50°F (4-10°C). Popular options include basements, unheated garages, or root cellars. Avoid storing them in places where temperatures fluctuate frequently, such as attics or sheds.
How to Check on Your Tubers During Winter
Throughout winter, periodically inspect your stored dahlia tubers. Check for signs of rot or excessive dryness. If you notice shriveled tubers, lightly mist the packing material with water. Conversely, discard any tubers that appear soft, mushy, or moldy to avoid spreading problems to healthy tubers.
What to Do When Spring Arrives
As spring approaches and the last frost date nears, it’s time to wake up your dahlia tubers. Start by bringing them out of storage and inspecting them one last time. Divide larger clumps into smaller, manageable sections, ensuring each division has at least one visible eye (the growing point).
Plant the divisions in well-draining soil once the ground has warmed up, typically 2-3 weeks before your region’s most reliable frost-free date. Dahlias thrive in sunny locations, and with proper care, their stored energy will soon transform into lush, beautiful blooms.
Common Mistakes to Avoid When Overwintering Dahlia Tubers
1. Storing Tubers Too Wet
Excess moisture is the number one enemy of dahlia tubers during storage. Always ensure tubers are dry before packing them away to prevent rot.
2. Forgetting to Label Varieties
Overwintering without labeling can lead to a guessing game in spring. Make it a habit to tag all your tubers during the trimming process.
3. Storing in the Wrong Location
Ensure the storage space is consistently cool and dark. Freezing temperatures or warm, fluctuating conditions can kill or dry out the tubers.
Why the Effort Is Worth It
Learning how to overwinter dahlia tubers may seem labor-intensive initially, but the rewards are incredible. With one season’s effort, you get to experience the thrill of growing your favorite dahlia varieties year after year. Over time, you may even find yourself propagating new plants and expanding your collection.
For additional gardening tips and plant care guides, visit Plant Horizon.
FAQs About Overwintering Dahlia Tubers
1. Can I Leave Dahlias in the Ground During Winter?
In mild climates (zones 8-10), you can leave dahlia tubers in the ground. However, they must be mulched heavily to provide insulation. In colder zones, digging them up is necessary to protect them from freezing temperatures.
2. Why Are My Tubers Shriveling in Storage?
Shriveling indicates insufficient humidity. Lightly mist the packing material to maintain a balance between moisture and dryness.
3. Can I Use Plastic Bags for Storage?
Avoid using plastic bags, as they trap moisture and lead to rot. Opt for breathable storage materials like cardboard boxes or wooden crates instead.
4. What Happens If My Tubers Are Growing in Storage?
If you notice sprouts during winter, move the tubers to a slightly cooler spot. Sprouting usually indicates that your storage space is too warm.
“`